Marina | August 20, 2012 | Fashion |

Can’t seem to find the perfect t-shirt from your favorite stores? You need not look far and wide to have the garb you’ve always wanted. With a few items, you can make your own t-shirt right at the comfort of your own home. If you’re interested in personalizing and designing your own shirts (which can turn into a business later on), make sure to follow these steps on how to make your own t-shirt.
- Choose the shirt you are going to use.
- Purchase a shirt transfer paper which is usually available in kits. This can help you transfer the design to your own shirt. Make sure to pick a paper which will work well with your shirt.
- Select a picture or an image which you want to put on your shirt. Scan the image and edit it with Adobe Photoshop or other program to make any tweaks if necessary. Resize the image to fit your shirt. You can also add borders, but make sure the bottom border is larger than the sides. Avoid placing a border on the top of the image. Add text on the image as needed.
- Click the mirror option to reverse the image (so you won’t end up with a wrong-sided image.) Save your work and print the image on the transfer paper.
- Once you have printed the design, trim the paper and leave 1-inch borders on each side of the image.
- Prepare your flat iron and adjust it to the high setting for cotton. Make sure to turn off the steam setting and adjust it to try mode. Preheat the iron in the correct setting for about five minutes.
- Put a pillowcase or another piece on cloth in between the shirt. Make the shirt flat so there are no creases which can damage the design.
- Place the transfer paper on the place where you want the design to be moved.
- Iron the edges for approximately 15 seconds. Make sure to cover each corner well. After the edges are ironed, move your iron to the center of the image, ironing through each part of the transfer paper for at least 2 minutes. This is to make sure that the image is transferred perfectly.
- Peel the transfer paper carefully. Start removing the paper from the edges. To have a satin finish image on your shirt, remove it while the paper is hot. If you want a glossy design, you can wait for the transfer paper to cool before removing it.
You can Design your own t shirt in many different creative ways!
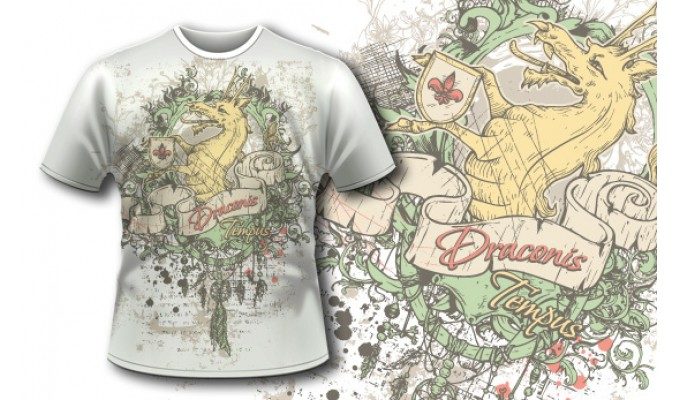
Custom made t shirt ( acrylic paint)
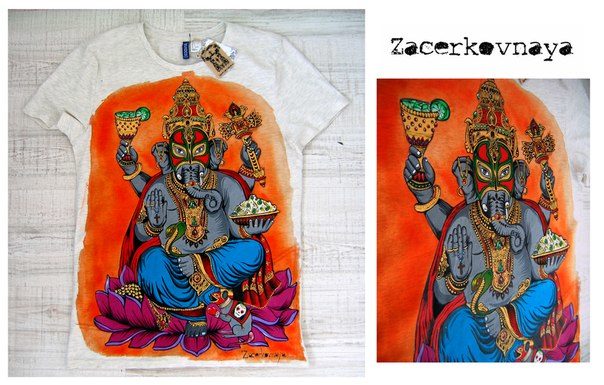
Custom made shirt with application
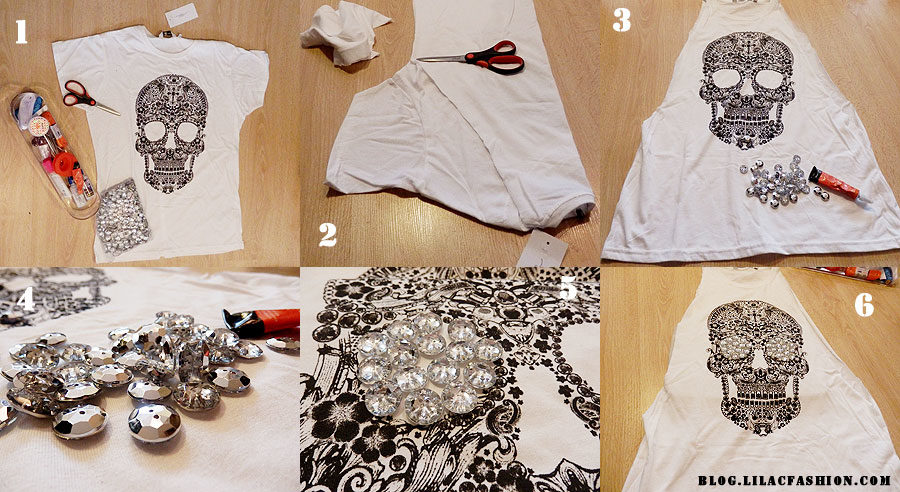
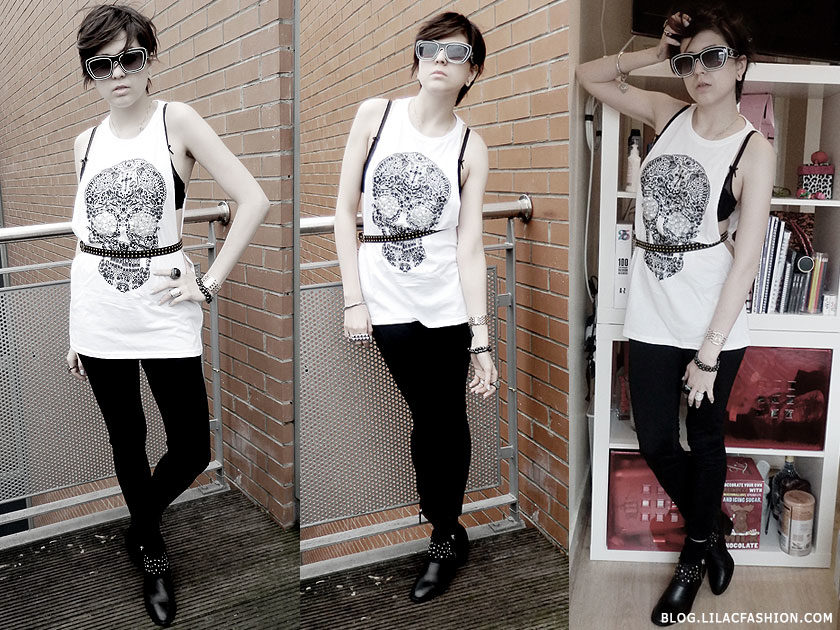
Design your own t shirt with crystal application
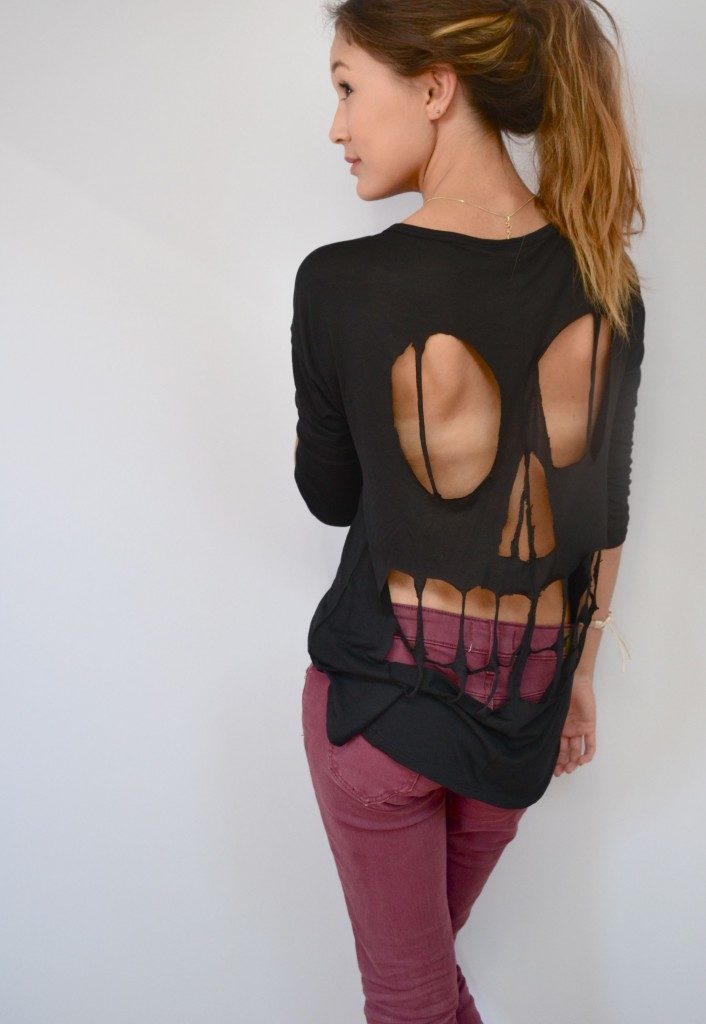
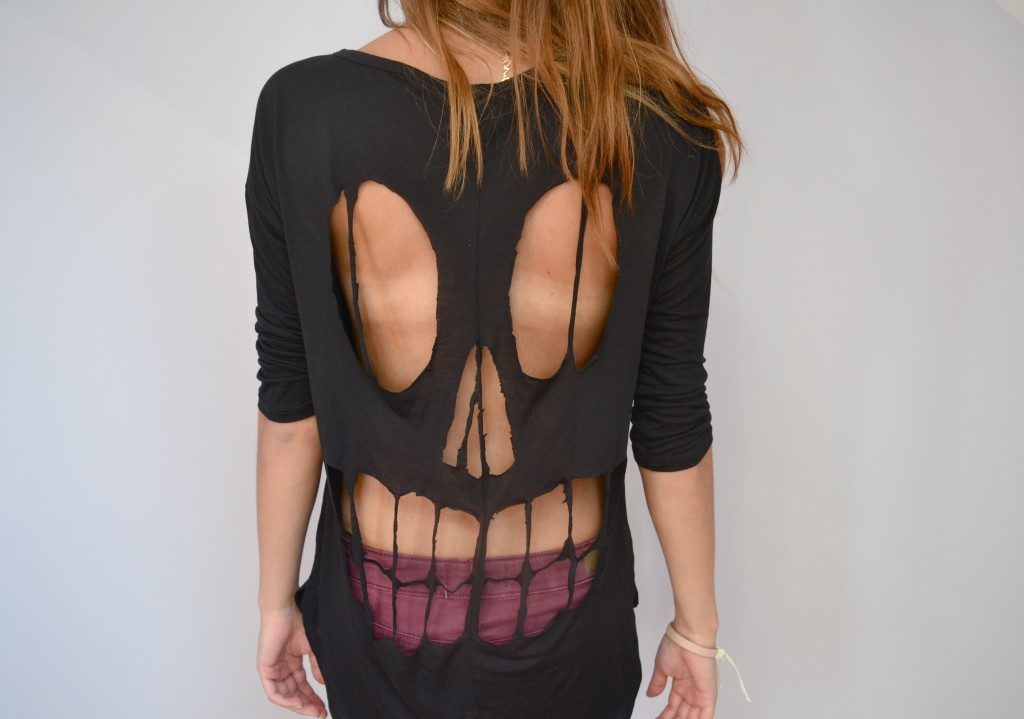
DIY t shirt cut
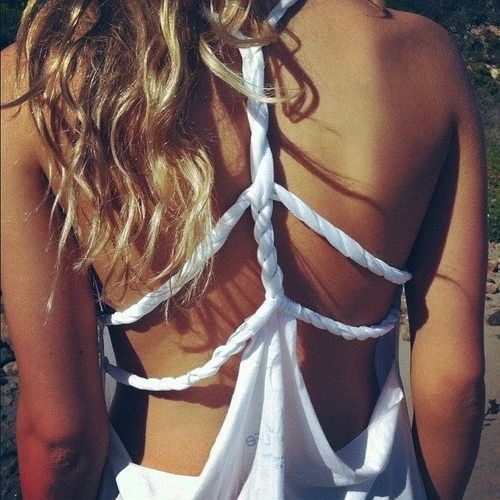
White DIY shirt

Customize your own t shirt it is easy and fun!
DIY skull shirt

Cut your t shirt